Create Auth0 Account
1. Visit Auth0.com

2. Sign up new account

3. Finish Sign Up

Creating New Tenant
1. Navigate to Left Corner Dropdown

2. Click create New Tenant

3. Fill the Tenant Domain
Note
Please use your website domain so it can be more consistent

4. Choose region that is closer to your server

5. Finish, Click Create

Now you have switched to your new tenant**

Create Application
To run this site, 2 types of applications are required for the authorization and authentication process. The first application is the Single Page Application (SPA) type authentication which needed by The JavaScript frontend to authenticate. The second application is for verifying the token that has been created by the frontend which will be used for the process of authorizing access to all the Backend endpoints (API)
Create New SPA Application
1. Click the 3rd icon in the right corner

2. Click Applications

3. Click Create Application

4. Fill the name field then Click Create


5. Select Settings Tab

6. Add application logo

Note
This application has pre-defined logo, the url of image is available in your installation once this up is up and running in your domain. (eg. https://your-domain.com/wai-logo.png)
7. Change your-domain.com with your app-domain for all the field below


8. Modify the ID Token Expiration

9. Click Save Button

10. Select Connections Tab

11. Change below option field with Both

12. Click Save Changes

Create New Backend Application
1. Click on Create Application

2. Select Machine to Machine Application

3. Rename the Application

4. Click on Create

- 5. Click on option
Once you click create button, there will be a popup with dropdown selector to authorize this application. Please select Auth0 Management API
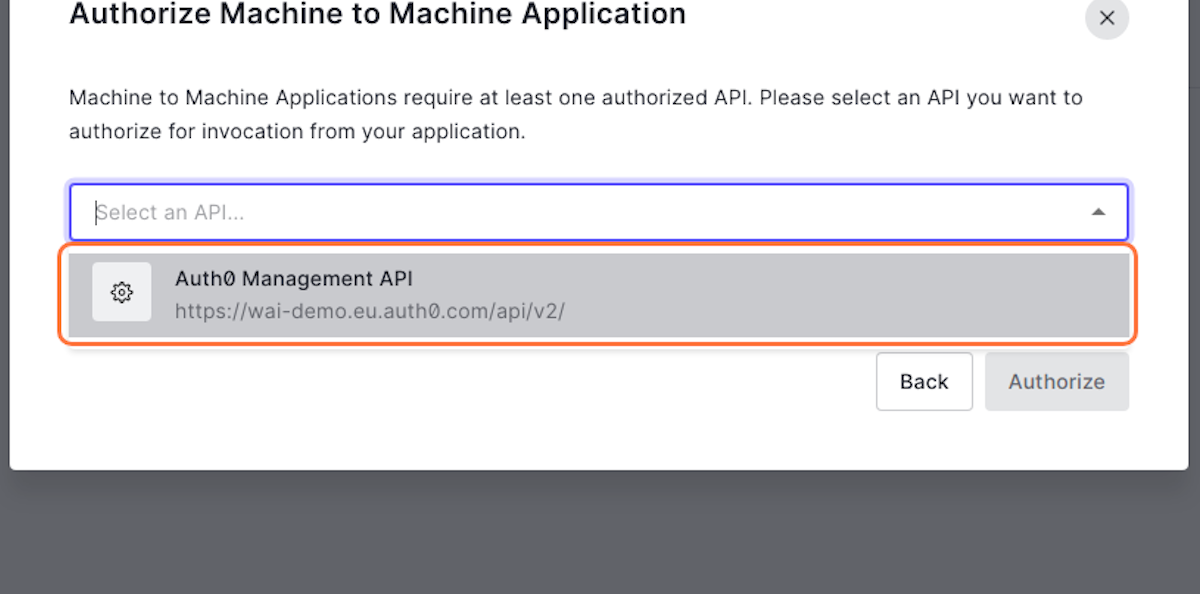
6. Authorize All the Permissions

7. Click on Authorize

8. Click on Settings

9. Change your-domain.com with your app-domain for all the field below
10. Modify the ID Token Expiration
11. Click Save Button
The Production Tentant
Tenants tagged as Production are granted higher rate limits than tenants tagged as Development or Staging. To ensure Auth0 recognizes your production tenant, be sure to set your production tenant with the production flag in the Support Center.
Note
Higher rate limits are applied to public cloud tenants tagged as Production with a paid subscription. See Auth0 Tenant Policy
1. Click Gear Icons

2. Select Production

3. Click Save

Back to Installation